In this article, we are going to be talking about how to Use your SNO-RAZOR Blade correctly. that comes with the sno-master 72, sno-master 48, and path-master.
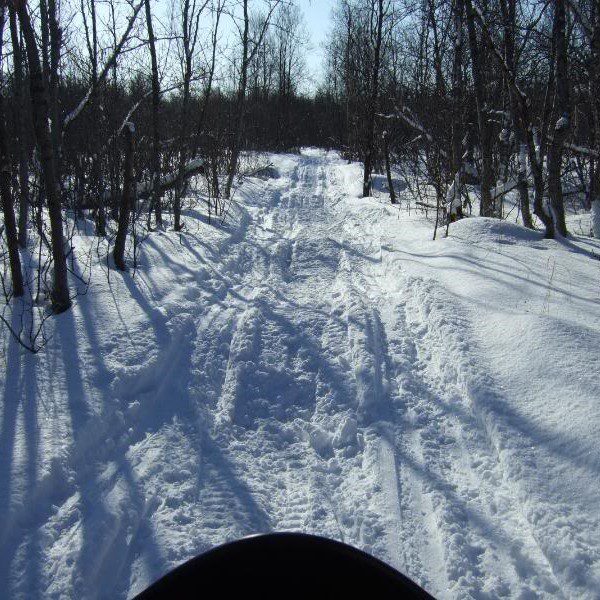
You want your winter trails to be packed and smooth so that they are safe and enjoyable to ride on.
When using your trails in the winter your snow gets really torn up and you get acceleration bumps from the machines that you’re driving on your trails.
The other reason you want to cut and trim your trail is to give you new snow to work with. Just like the ski resorts you want to make sure your snow is agitated as often as possible so that your snow doesn’t turn to straight ice.
It’s a big reason why you see the ski resorts bring their snow every night. They want to make sure that the surface is soft enough and not complete ice that they can continue to groom the snow. So make sure you groom as often as possible. But having a snow razor to cut and trim your trail helps gives you fresh snow to work with and keep your trails soft enough to continue to groom as much as possible.
The question is how to remove snow whoops?
You need a tool to knock down the snow whoops and also fill in any of the ruts or holes. Over here at Snow Groomers, we build our snow razor blade system to cut and level all the bumps and whoops giving you fresh snow to pack and fill in any of the holes that you have in your Snow Trail.

Why you need the SNO-RAZOR
- Snow Bumps
- Acceleration Bumps
- Snow Whoops
- Ruts
- Ski marks
- Holes
- Snow Drifts
- Agitate Snow
How to set up your SNO-RAZOR correctly
Below are the tips and tricks that you need to be aware of to get the best out of your snow razor blade. It’s important to follow these instructions as you will shear less of your shear bolts and will not need to adjust the blade as much.
What is adjustable on your SNO-RAZOR blade?
- Adjusts up and down
- Razorblade Adjusts
When you first are starting out with the SNO-RAZOR you want to make sure that the depth of the SNO-RAZOR is set properly. This will be different for all your towing machines.
Depending on our snowmobile or tracked vehicle when you start to move the rear suspension has sag. This vehicle sag will affect the depth of your sno-razor when it’s down. We recommend starting your sno-razor about an inch off the ground. You then lower it in SMALL increments in order to make sure your SNO-RAZOR blade does not dig too deep into the snow. Use the wheel kit to cross roads.
REMEMBER! Use your SNO-RAZOR Blade.
It’s better to do multiple passes than trying to dig too deep in the snow with our razor.
You want the SNO-RAZOR blade angle to be set between 20-30 degrees. If you are more than 30 degrees your snow Razor turns into a plow. You want to CUT through the snow not PLOW through it. If your SNO-RAZOR blade is set at the proper angle your teeth will bite into the snow cutting through the top layer and then the snow will pass over the top of the snow blade which allows for the chassis to compact this snow and give you a nice level smooth trail.
Blade Angle
- Soft Snow 20 Degrees
- Medium Snow 25 Degrees
- Hard Snow 30 Degrees
There is a bit of a learning curve when it comes to getting the right angle and depth of your blade right. Remember to adjust everything in small numbers. This allows you to find the sweet spot and carve out some beautifully level and smooth corduroy trails.
